


SWAP is a memory type that Linux NVMe VPS Servers use to process requests. Memory will be held in SWAP so it’s faster to access. Most distributions come ready set up with a SWAP partition but sometimes, you may want to create a new one. We will create a swap partition of 6GB in a cPanel / CentOS server and configure this to mount this at boot. This guide will work if you want to create swap on Rocky Linux or to create swap on AlmaLinux.
Create Swap Partition – cPanel
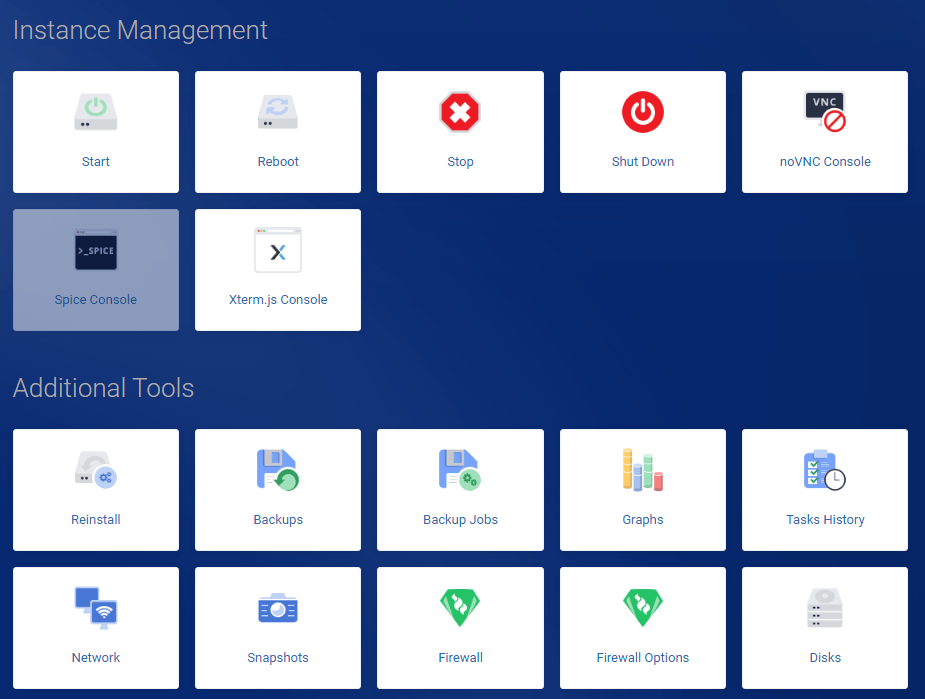
This guide will also work on servers running cPanel. If your cPanel VPS Server is missing a swap partition. You can create a swap partition for your cPanel server using this guide. You can also use the NoVNC or XTerm consoles to connect over the internal network to perform these commands.
Check for existing SWAP
The first obvious thing you should do is to check for any existing SWAP partition in your NVMe VPS. Using swapon, see if you have a swap partition already.
swapon -sIf there is no output to the above command, you do not have any swap configured on your server. You can further confirm this with the free -m command.

Create SWAP Rocky Linux / Create Swap AlmaLinux
First, using DD we can create and format an image. The below command creates a 6GB swap partition located at /swap.
dd if=/dev/zero of=/swap bs=1M count=6000
You can change the following sections.
- of=/swap – The location of the swap partition
- count=6000 – The size of the swap partition
Next, set the correct permissions on the newly created swap file and format it.
chmod 0600 /swap
mkswap /swap
Enable Swap Linux
Finally, to enable your newly created swap partition use swapon. You can verify your swap is created and working with swapon -s and free -m
swapon /swap
Mounting Swap at boot
These changes will only work until the server is rebooted. To make them permanent, edit the fstab to include the new swap.
nano /etc/fstabAdd the following line. Save and then close the file.
/swap swap swap defaults 0 0That it. You have created a swap partition, formatted it and told your server to use it. You have also configured this to mount at boot time.
Other Resources
- Manage SWAP with vm.swappiness